.jpg)
Welcome, brave adventurer! This guide will walk you through the Mask of Vortex quest series for EverQuest's Shattering of Ro expansion!
Pre-Quest Prep * Mask 1: Shards of Magic * Mask 2: Colossal Applications * Mask 3: Songs of Stability * Mask 4: Scales of Madness * Mask 5: Glimpse of the Vortex * Mask 6 (coming soon!) * Mask 7 (coming soon!)
Pre-Quest Prep:
Before you Go: You're going to need various tools, vendor purchased supplies, and to keep an eagle eye out for several pieces and parts to save while out working progression and adventuring in the new expansion, Shattering of Ro. You can find a handy checklist online here or if you prefer, an old-school style printable checklist version.
To Get this Task: Hitch a ride or make your way to the Senior Apprentice Mage Sarcrynn in Arcstone and follow his dialogue. Fun Fact: If you did the old scrykin orb quest, he will acknowledge your previous triumphs, which is a cool little detail.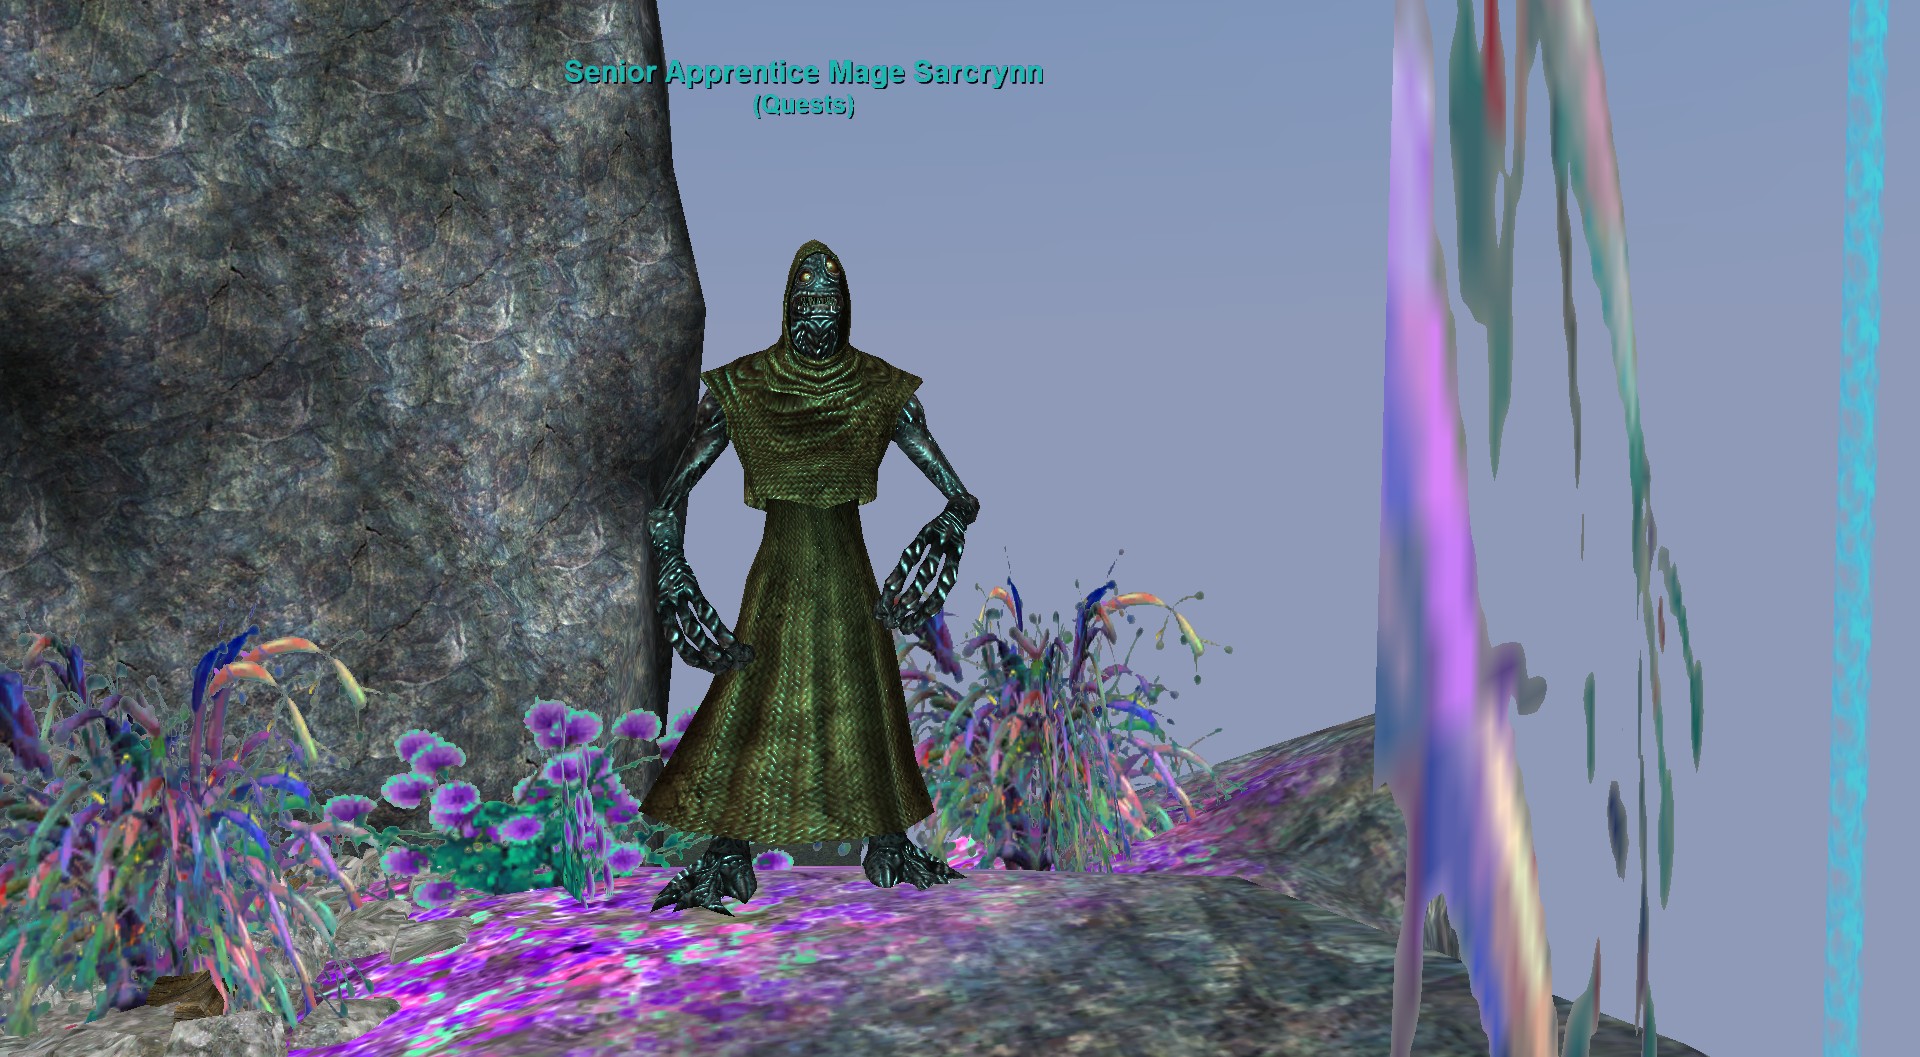
What Now?: Go through his dialogue, and he will give you the first task to create your mask, "Shards of Magic".
Stage 1: Shards of Magic & Mask 1

To begin, you need to kill depraved scrykin, and collect 4 of their glowing scrykin bloods.
I found it easiest to do this in conjunction with Arcstone Partisan 1 (unless you've already done that), by going just west from the quest giver. I like to camp either on the far side on the safe ledge (careful not to fall), or any of a number places along the perimeter of this section. If its camped, see if there's a pick available. At first, these bloods were very streaky, but it seems they may(?) have increased the drop rate as they seem much, much better now. Note: Throughout this walkthrough, you will see various images that show item numbers -- that is because these screenshots were captured on beta. If any information here changes, I will return later and update! Feel free to shoot me a tell (cross server or otherwise, at luclin.adetia) if you have questions or comments!
If you already had collected the crystals, per the checklist, you can skip ahead.
Side Trip: If you need to gather the crystals, and your friends can't support you in that regard, (ask in guildchat!?) - then head to Candlemaker's and kill candle model mobs near the "liquid wax pools" there. For me, that's the fastest, most efficient way to gather them in quantity. Your mileage may vary.
Once you have the kills and materials, if you have a Brewing Barrel - you can use that wherever you are, otherwise you will need to head to Plane of Knowledge, your Guild hall or your crafting location of choice. PUT ON YOUR TROPHY! For main tradeskill combines for this quest, you receive the recipe when you GET the task, so you can simply find it in your tradeskill interface for your brewing container by typing "coag" or "slurry" in the partial name and hitting search. Then, it will locate your ingredients for you, and you can click combine. Good luck!
Now that you have combined your slurry, you must return to Senior Apprentice Mage Sarcrynn in Arcstone. 
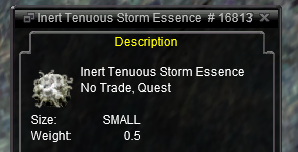
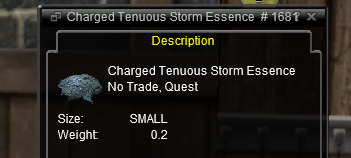
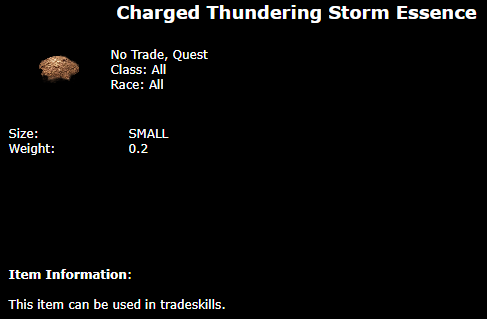
When you hand in your slurry to him, he will give you 3 essences on your cursor as shown just above. Drop them in your bag. You then need to go stand inside a magical storm as listed in the quest directions, and if you stand still and do nothing, shortly, those 3 inert essences will conver to become Charged Tenuous Storm Essences as needed for the quest. If you look up, you can see a magical storm just above you. Otherwise, there is a storm to the west, and several others nearby. Any will work, but play smarter, and choose one that doesn't have mobs that will aggro you nearby, or preclear them. This part of the quest will take about 10-15 seconds total to complete the 4 task updates - one for standing there, and 3 for the individual essences. Before you leave here, your quest should look like this: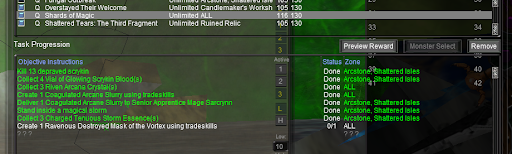
Now its time to make the mask. Head down to the crafting area of your choice (PoK has two options, guild hall, whatever you choose). Again, you learned this recipe earlier, so you can search for it using mask, destroy or vortex, then hit combine. Good luck!
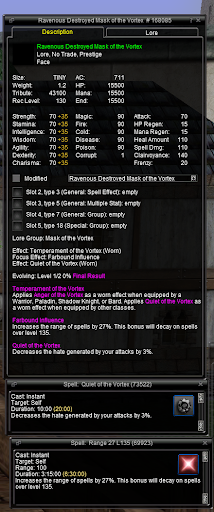
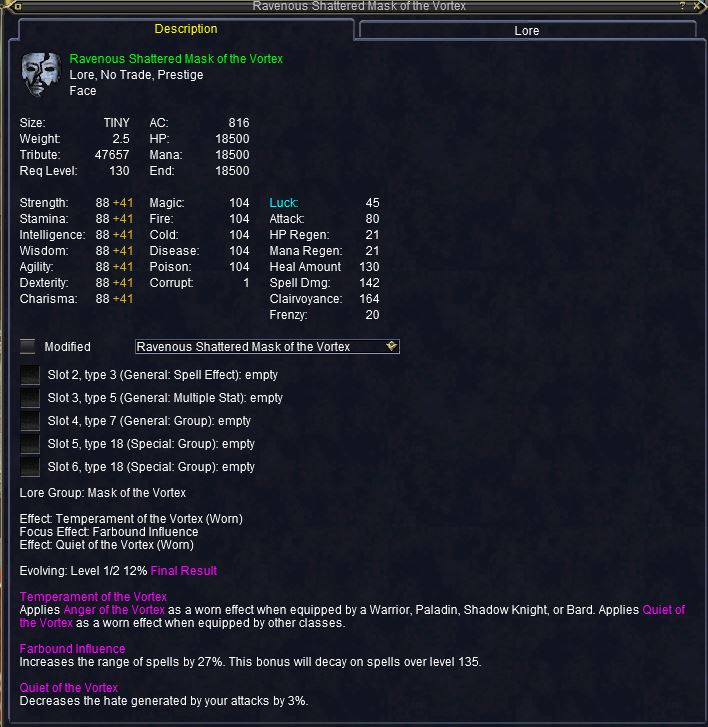
Congratulations on Mask 1! Check out this beauty!
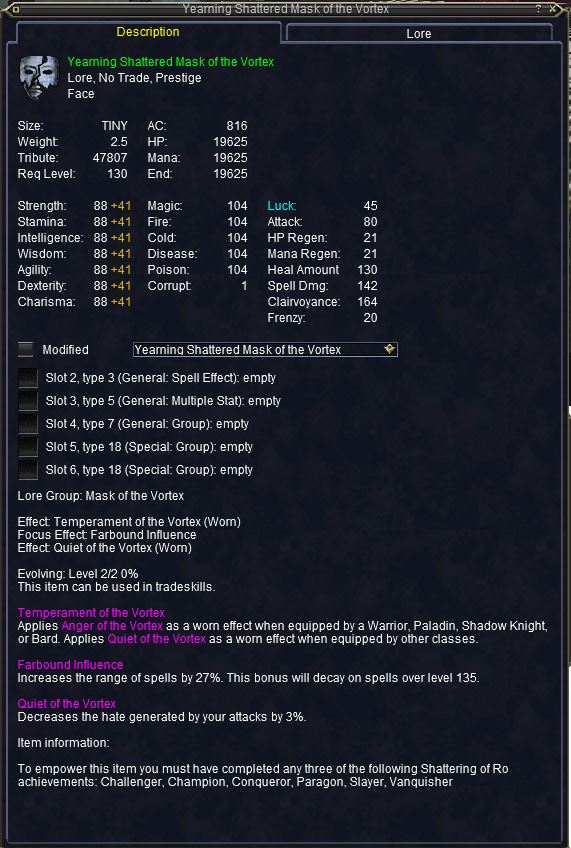
Now for the fun part! Head off to get more progression done or get some xp anywhere you can! Missions are a great source at 2% xp on your mask per completed mission. At your leisure, stop by and see Senior Apprentice again to finish off the previous task (but you can xp it before then if you like). See you back here when you are done filling up your xp for the mask, and it has evolved to the Yearning Form as shown below! If you have filled it with XP but it didn't evolve, you need to have one achievement - I recommend going for Paragon of Shattering of Ro if you are able to complete the missions.
Stage 2: Colossal Applications & Mask 2:
With your new mask equipped, it is time to get Stage 2 started! Visit Senior Apprentice Mage Sarcrynn again, and he will give you the quest Colossal Applications. Keep in mind by the end of this stage, you will need a second achievement from this list, so as you have opporunities to prepare for that, make good use of them! If you only have Paragon done so far, or used that for Stage 1, consider finishing Challenger unless you are already done with progression.
- Champion of Shattering of Ro
- Stormslayer
- Paragon of Shattering of Ro
- Challenger of Shattering of Ro
- Conqueror of Shattering of Ro
- Vanquisher of Shattering of Ro
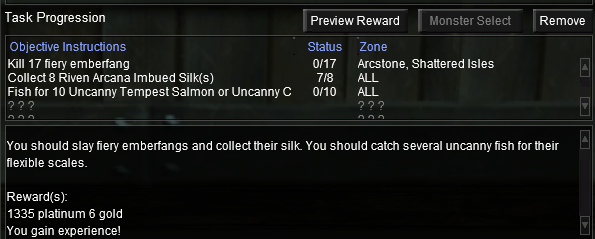
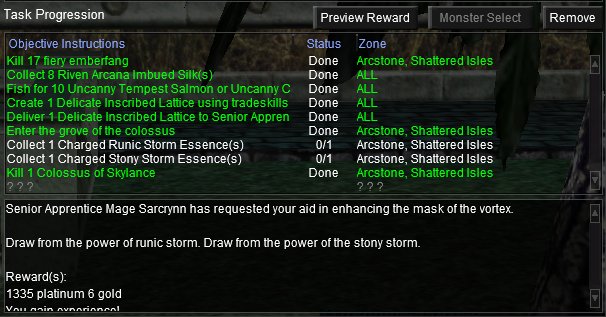
Our first task is to return to the front of Arcstone and kill 17 fiery emberfangs. These are spiders, located just west of the zone in from Candlemakers. I set up camp by the Questgiver and pulled to there. While you are there, farm up your 8 silks if you do not have them yet. Be warned: several folks have had complications making this mask, and have needed to return and re-camp these.
Once you have your kills completed, and enough silks for an attempt, you will need to go fish. I found it very quick, easy and safe to do this at the northern water in Scarred Grove, but really, any water in SoR will work.
After catching 10 fish, you will need to scale them. If you forgot to get a scaler, you can buy one in Stratos from the Merchant there.
You'll need to turn 1 fish + scaler on a fish table (PoK/guidhall) or tackle box to turn them into scales. You will need 1,000 scales.
Then, turn 10 scales into 1 patch, 10 patches into 1 swatch, 10 swatches = 1 sheet.


After preparing your Riven Arcana Scale Sheet, you will need to prepare your silks.
Combine 8 Riven Arcana Imbued Silks, a Spool of Simple Thread, and a sewing needle in the loom to make a Riven Arcana Heavy Fabric.
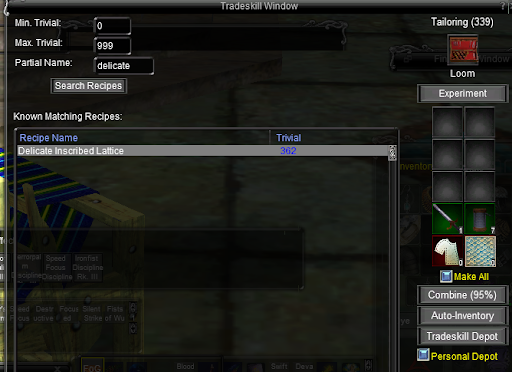
Now, you are ready to make the lattice! You already know the recipe so just search for it in a loom.
You will already have learned this recipe so you can search for it in the tradeskill interface. Equip your trophy, and combine. Good luck!
When you have successfully made your lattice, its time to return to Arcstone to visit our trusty friend, Senior Apprentice Mage Sarcrynn again. Hand him the lattice and he will give it back to you, along with two essences, and will ask you to Enter the grove of the Colossus.
For this, you will need a group of folks capable of beating the mission. Read this next part carefully.
After you zone in, you will receive another quest update. Despite the screenshot below, its best to do this before you kill the Colossus.
Simply stand in the red Stony Storm and click on your Inert Stony Storm Essence, and it will become a Charged Stony Storm Essence.
Then, stand in the blue Runic Storm and click on your Inert Runic Storm Essence and it will become a Charged Runic Storm Essence.
3. Now, prepare and do the mission.
When you open the chest after completing the mission portion of the instance, you will get Charged Heart of the Colossus.
Sometimes this goes on your cursor, others have it appear in their bags.
Return to the tradeskill area, and put on your POTTERY TROPHY. On the KILN, search for ruined or vortex.
You will already know the recipe and as long as you have all the parts, should be ready to combine! Good Luck!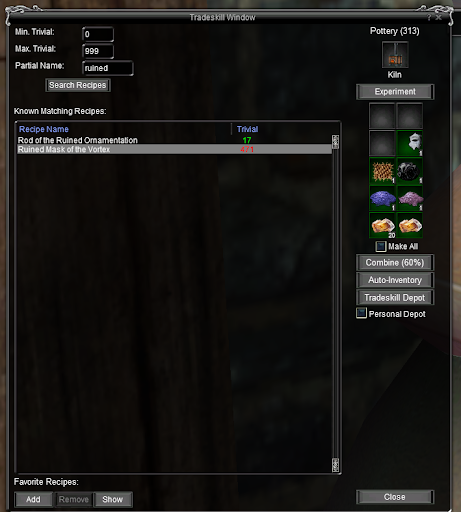
Congratulations on Mask 2! What a looker!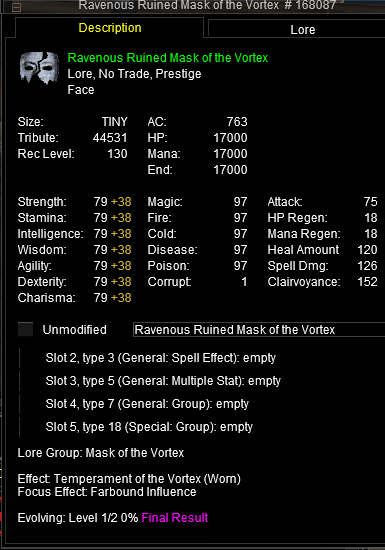
Now for the fun part! Head off to get more progression done or get some xp anywhere you can! Missions are a great source at 2% xp on your mask per completed mission. At your leisure, stop by and see Senior Apprentice again to finish off the previous task (but you can xp it before then if you like). See you back here when you are done filling up your xp for the mask, and it has evolved to the Yearning Form as shown below! If you have filled it with XP but it didn't evolve, you need to have one achievement - I recommend going for Challenger of Shattering of Ro if you are able to complete the mission special achievements. As you are able, keep filling your Mercenaries and Partisans if you haven't yet - you're going to need those soon.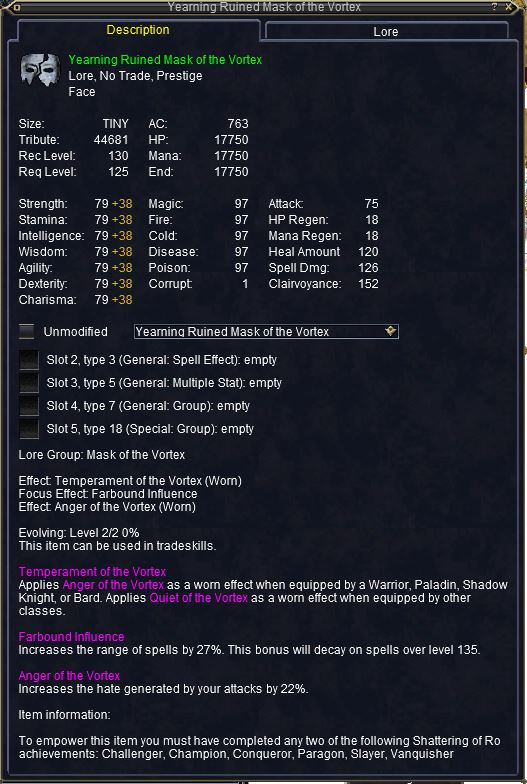
Stage 3: Songs of Stability and Mask 3:
With your new mask equipped, it is time to get Stage 3 started! Visit Senior Apprentice Mage Sarcrynn again, and he will give you the quest Songs of Stability. Keep in mind by the end of this stage, you will need a third achievement from this list, so as you have opporunities to prepare for that, make good use of them!
If you only have Paragon and Challenger so far, consider finishing Champion unless you are already done Hunter.
- Champion of Shattering of Ro
- Stormslayer
- Paragon of Shattering of Ro
- Challenger of Shattering of Ro
- Conqueror of Shattering of Ro
- Vanquisher of Shattering of Ro

To begin, we are off to Arcstone, to kill shrubbery. I went west from the questgiver to the scrykin area and killed tanglefoots there. If you already had timbers in your bag, they will auto update as you can see in my image. If you don't have timbers, stay at tanglefoots until you have enough for everyone in your party - for me its been the best source to get them. You can find them here, and its a pretty safe camp, but anywhere to the west of that will work as the scrykin area is often heavily camped. Its very easy to "share" a camp with others, as you can easily target pull things you each need, so talk to your neighbours if needed!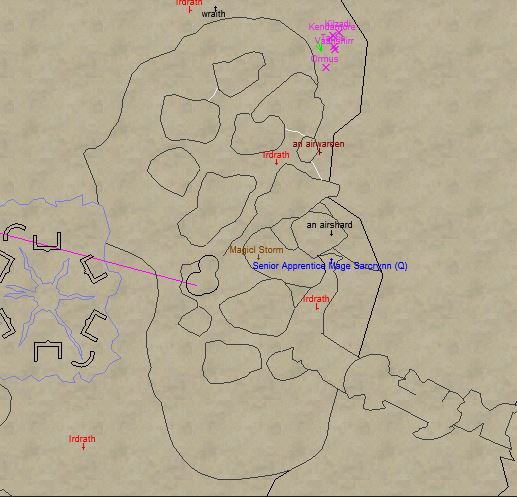
After finishing your kills, you will need to head to Relic, and acquire some Hymns of Stability. If you had previously acquired these, it will look like they are not prelootable - hand to an NPC/Merc and click cancel and it will update. You can frequently do this with any "Collect" step on most quests.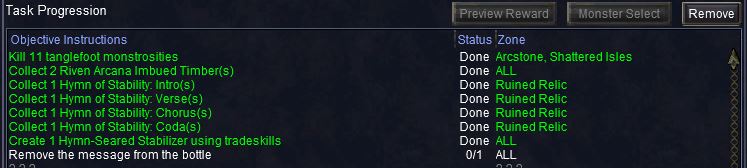
Some notes about travel: Travel in Relic is really not as bad as it seems at first. You need to exercise some caution moving around - several mob types are undead, so its a mixed bag, and the whirling clouds see through regular invis. If you have access to a mage at Tsikut or a friend has one stashed there, it is very straightforward to "float" down to pretty much any targeted spot. The key is to stay HIGH as long as possible, and then descend to the ground when you are where you want to go.
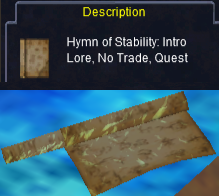
If you don't already have the Hymns, there are 3 ground spawns. You can do these at the same time as doing partisans in the zone, so you may have these already. Otherwise, lets go track them down. Note: While you are gathering these, if you have friends with you or a trusty merc and are capable, take out any names you see - especially elemental ones - these can drop the Hymn of Stability: Verse.
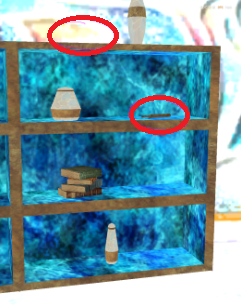
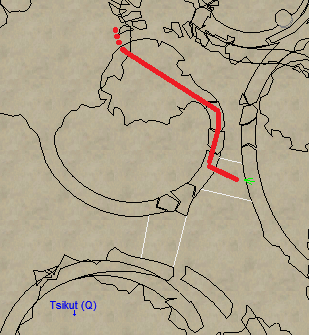
First, you will find Hymn of Stability: Intro in the marketplace. Each of these hymns can spawn in a variety of set locations, but only one will be up at a time. The respawn is very quick (60 seconds or less), so one will pretty much always be up - its simply a question of finding it. You are looking for a ground spawn (they all look the same) that looks like a piece of paper or sheet music that has been partially unrolled. In the marketplace, this hymn will spawn on a shelf on one of the bookcases near Thress, or, alternatively, on the bookshelfs or counters by the "wild book" location from Partisan 1. You can travel to this area carefully from the zone in. The area near Thress is about as safe as it gets with only one or two roamers, at /waypoint 1212, 891, -273.
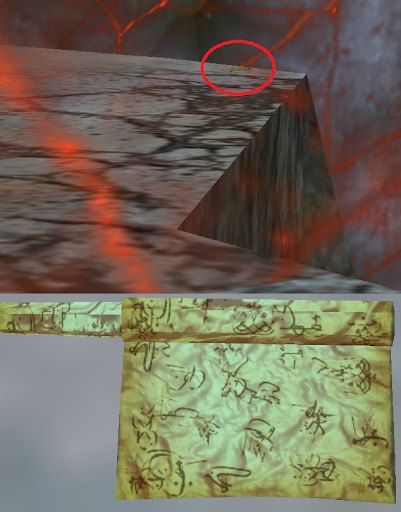
Second, you will find Hymn of Stability: Chorus. For this one, its easily combinable with the Magmath step in Partisan. But if you're already done that, head over from Tsikut to the lava platform at /waypoint 711, -292, 312. At this location, it will have a similar graphic and will spawn, in one of several locations around the edges of the platform or on the pathways leading to the centre of the island. Sometimes, a storm will cover it, as you can see in the image below. This one is not too difficult to see, typically.
Third, you will locate Hymn of Stability: Coda. It is a groundspawn on the large ice platform across the invisible bridge near Tsikut. This one can be a little trickier for many people to spot. If you get here, and you cannot see it, turn off PIXEL SHADERS and ADVANCED LIGHTING (Alt-O, Display, Advanced). While this makes the floor a ridiculously shocking bright white, it does make the paper pop out from its surroundings much more starkly. This is a setting you can change on the fly, then set back after you pick it up. Again, it will spawn on many locations surrounding the edge of this platform.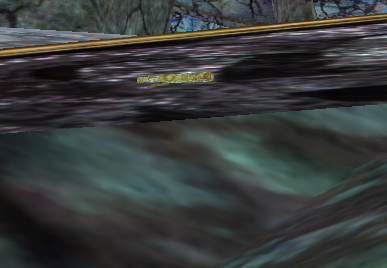
If you've gotten to this point and just need the Hymn of Stability: Verse then its time to camp it. While I personally got mine from Pfath of the Wind (spawns on both islands), I believe it will drop from any elemental name (and potentially any named) in the zone but at the time of this posting, cannot personally verify. It can be a pill to spawn, and even worse to get the drop. I have also verified drops from Windshear, Whisper, and Living Marble.
Phew! Now, we are set to proceed. If you brought your fletching kit with you, you will need to convert the two timbers into lumber. Otherwise, its time to go to a crafting area.
EQUIP YOUR FLETCHING TROPHY.
You'll need to make lumber: Planing Tool, 1 Basic Sandpaper (Stratos/LS/HH), and 1 Riven Arcana Imbued Timber. Do this twice.
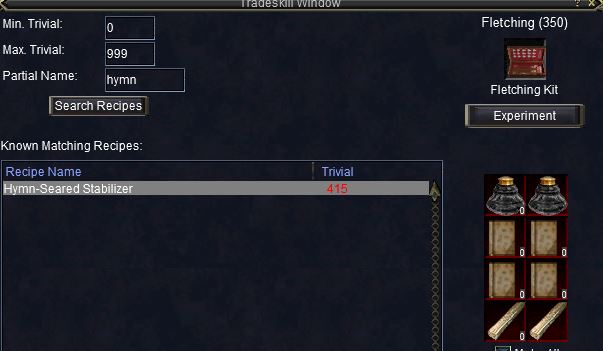
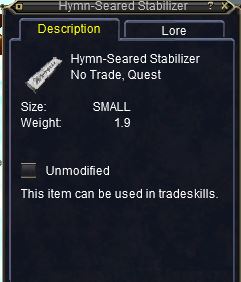
Then we craft the Hymn-Seared Stabilizer itself. You already know this recipe, so search for it in the fletching kit/table using "hymn".
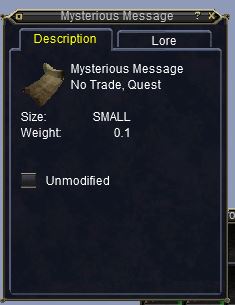
If you are successful, you will receive the Hymn-Seared Stabilizer and a Message in a Bottle. Right click the bottle to receive a Mysterious Message, which you can actually read! You will also receive a Bottle of Deconstructed Storms.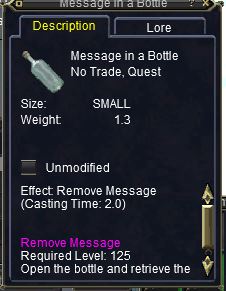
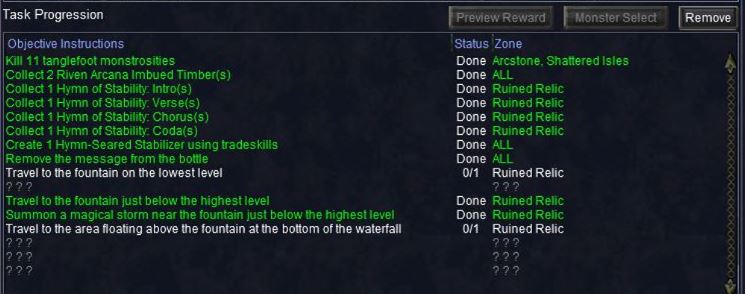
Now its time to do some traveling. I'd suggest making a hotkey for the Bottle of Deconstructed Storms. It will come in useful for the next updates.
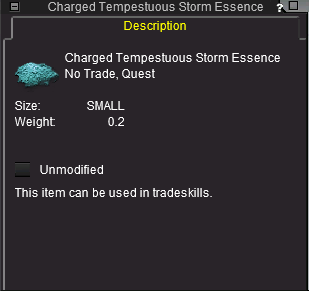
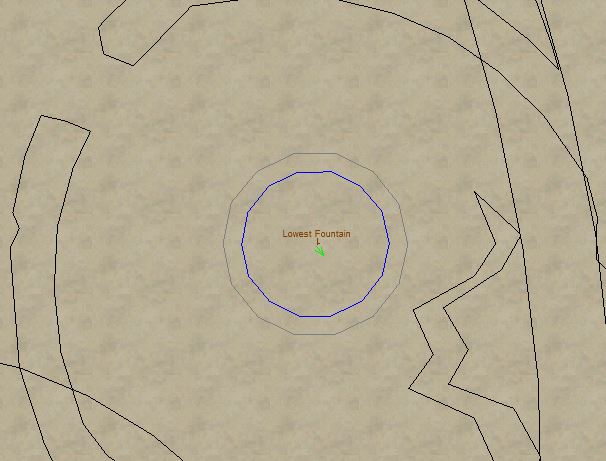
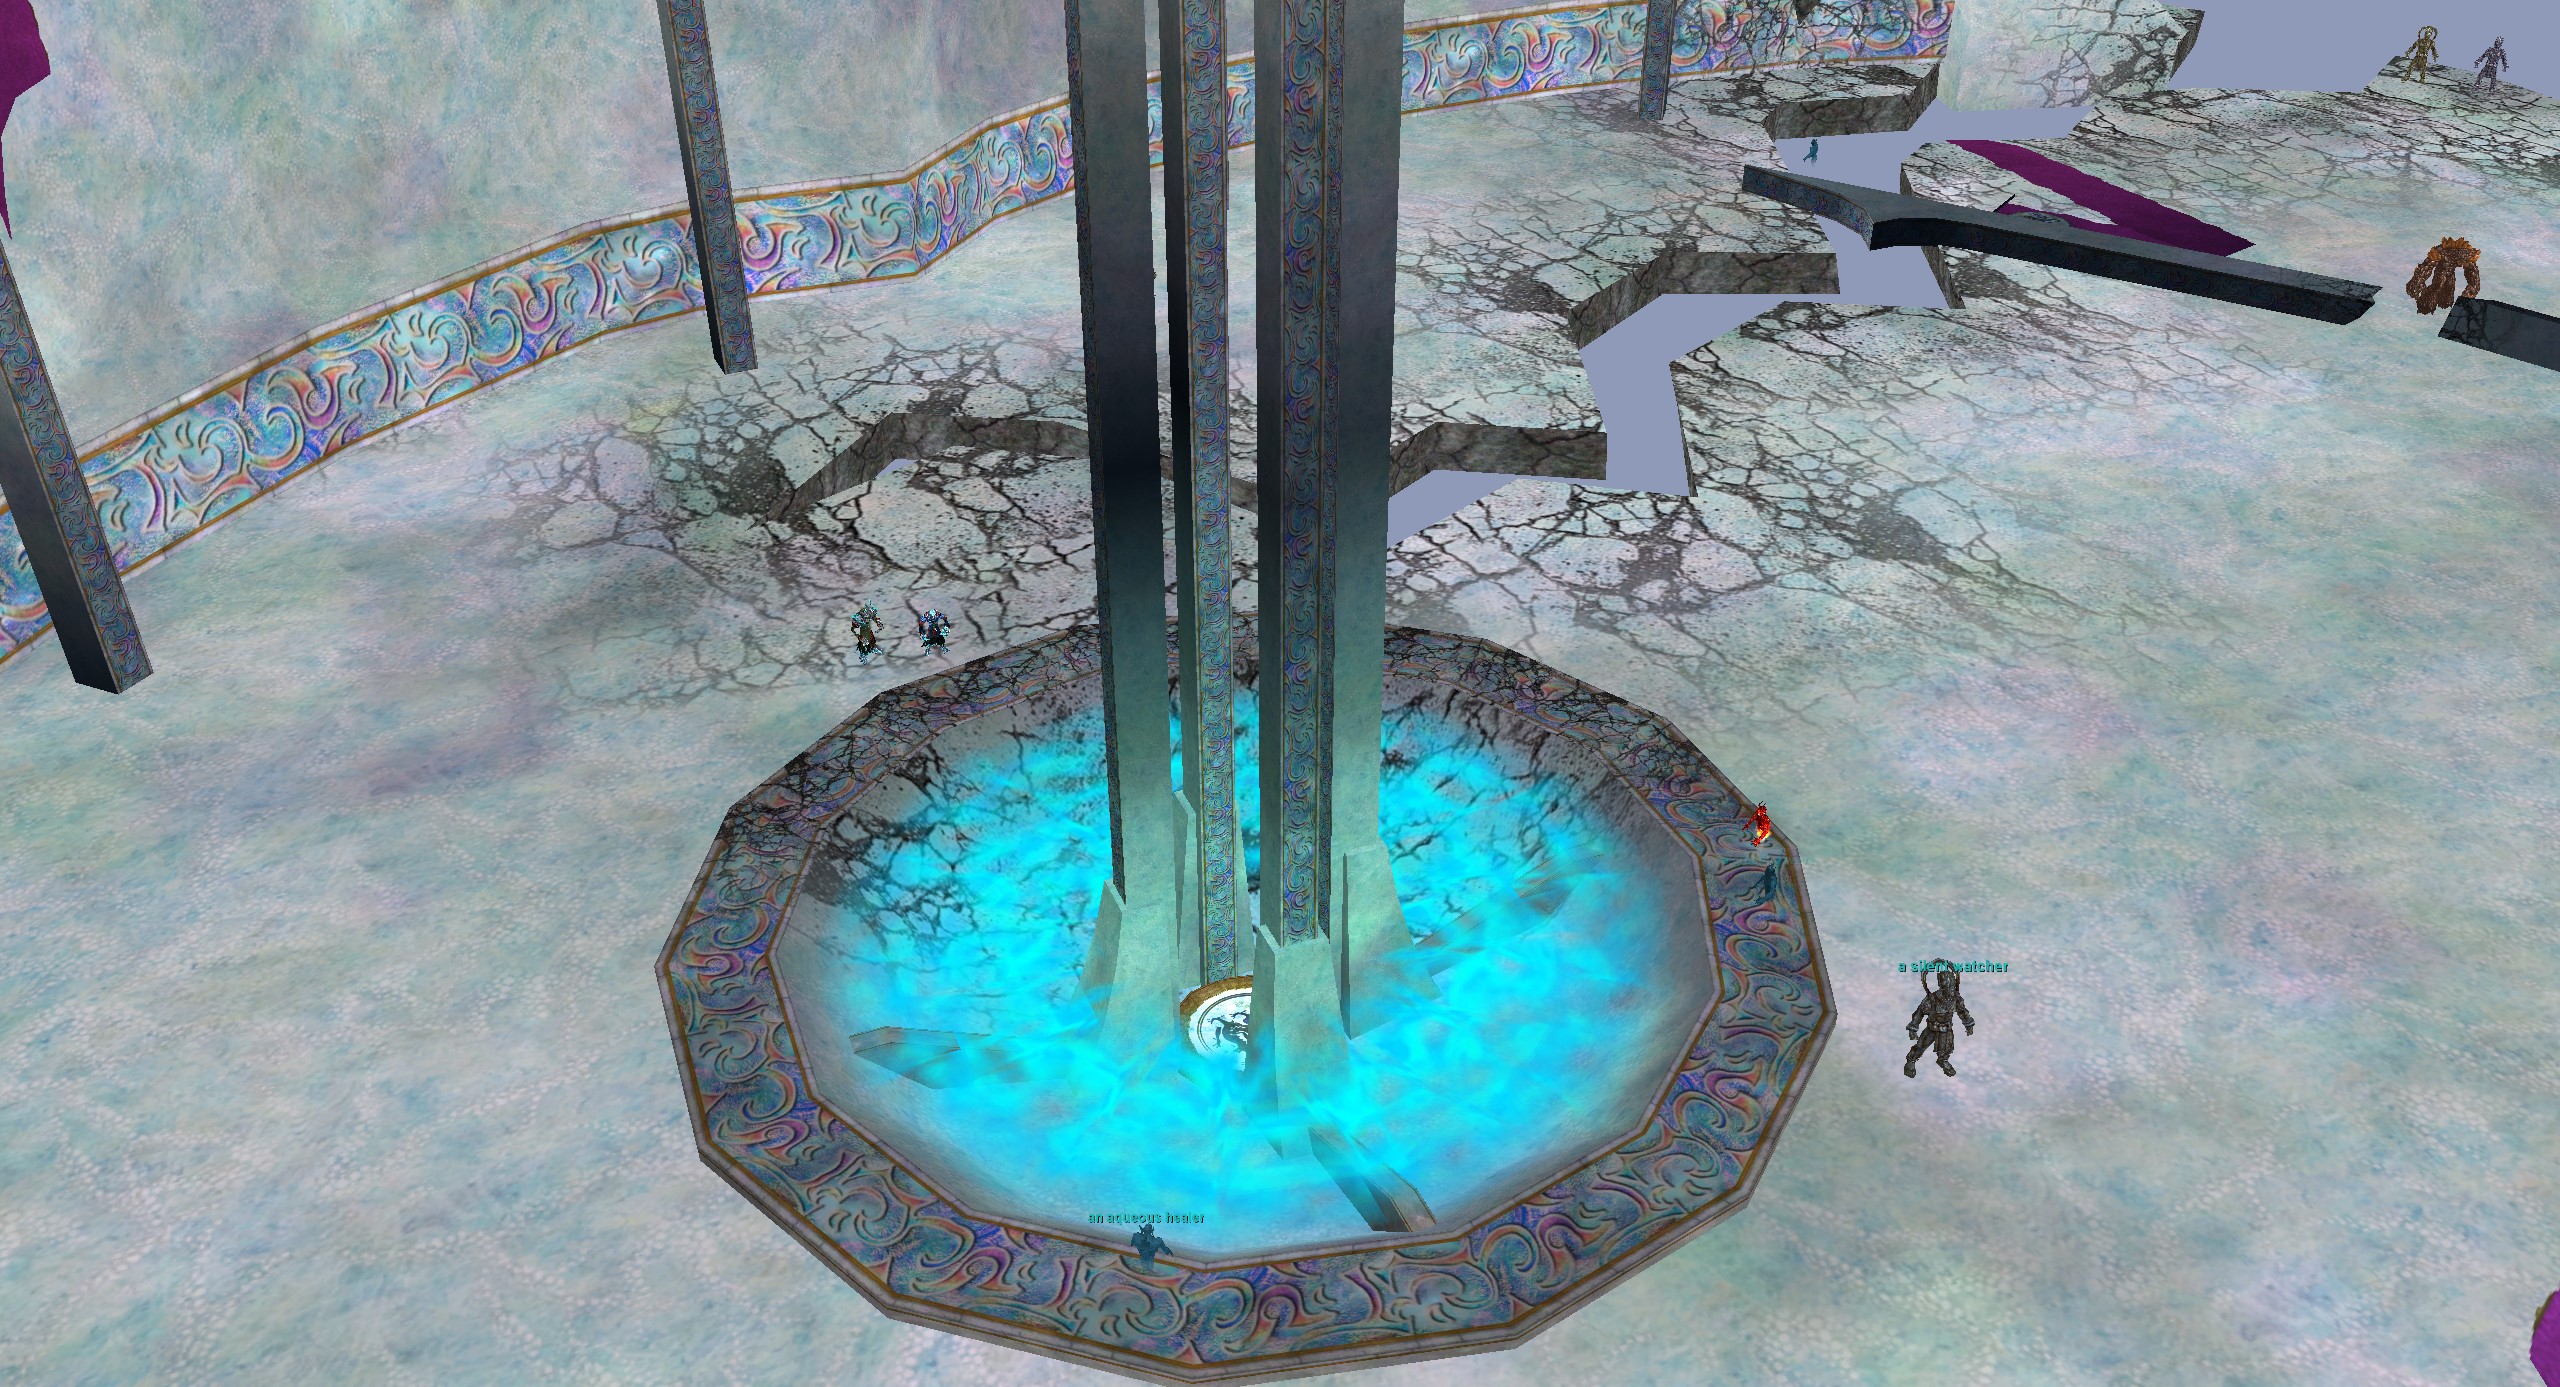
For the first update, it is at the fountain at the lowest level. You will need to get the location update, and then click your Bottle hotkey to Summon the storm. When you do this, an essence will appear on your cursor.
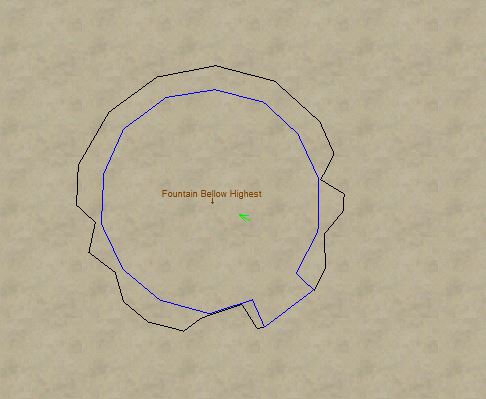
For the next two updates, I found it easiest to go to Tsikut, across the bridge to the ice platform then float into the fountain area. First is the the fountain just below the highest level here. (Use Good's maps!) Make sure you "land" temporarily on the firm outer rim of the platform and not the water, as you wont continue floating further down that way. Get the location update, and again, click your bottle to summon the storm and get your second essence.

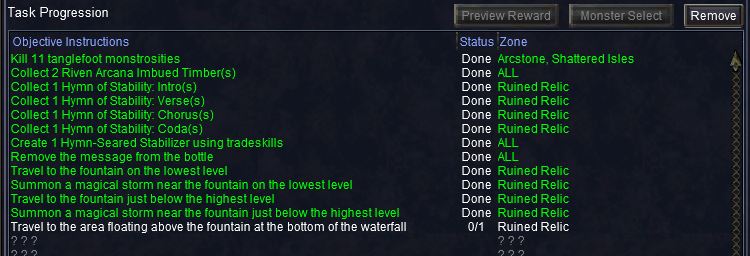
Once you've gotten that one, you can float down spamming your bottle key as you go - I centered myself on Good's map mark for "Floating Area", and spammed it until I got the update and the essence as I gently floated down to the zone point to Freeport. Full disclosure: it took more then one try LOL.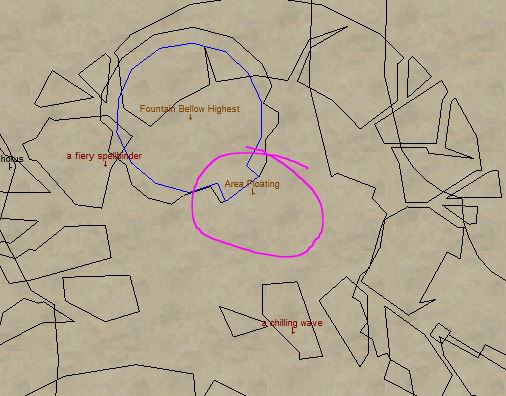
From there, head back to the kiln. EQUIP YOUR POTTERY TROPHY.
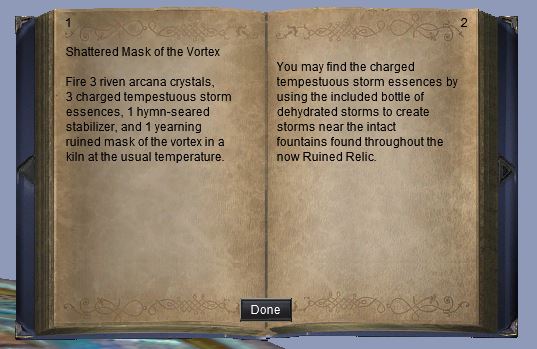
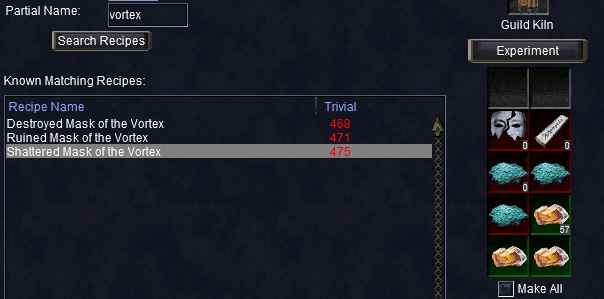
You already know this recipe so search for shattered or vortex, double check your trophy and hit combine.
NOTE: This quest has a bug at the moment, so you must make the following decision for yourself. It is currently bugged, and if you fail it is possible to lose the essences which are not easily replaced and may require either petitioning or repeating the quest to try again. Be warned.
Upon success, let out a cheer, and slap your new mask on! Yahoo!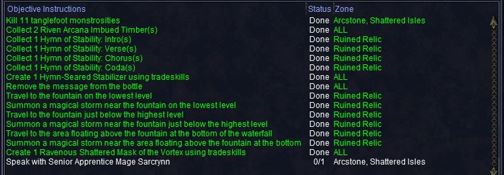
Back to XP! Head off to get more progression done or get some xp anywhere you can! Missions are a great source at 2% xp on your mask per completed mission. At your leisure, stop by and see Senior Apprentice again to finish off the previous task (but you can xp it before then if you like). See you back again when you are done filling up your xp for the mask, and it has evolved to the Yearning Form as shown below! If you have filled it with XP but it didn't evolve, you need to have one achievement - I recommend going for Champion or Hunter of Shattering of Ro next, depending on your situation.
Stage 4: Scales of Madness and Mask 4:
Slap your new mask on, and let's go see our old friend, Senior Apprentice Mage Sarcrynn, once again, and he will give you the quest "Scales of Madness".
Keep in mind by the end of this stage, you will need a fourth achievement from this list, so as you have opporunities to prepare for that, make good use of them!
- Champion of Shattering of Ro
- Stormslayer
- Paragon of Shattering of Ro
- Challenger of Shattering of Ro
- Conqueror of Shattering of Ro
- Vanquisher of Shattering of Ro
If you have previously collected the 4 traces from hunting elementals, they may auto-update, or you may have to do the old hand it to a merc/NPC/pet and click Cancel maneuver.

From there, we head back to Relic to slaughter elementals. If you already have your traces, just pick a camp and sit in it and get it done. If you still need traces, then target farm them at the same time.
Trace of Soaring Sentience: air elementals
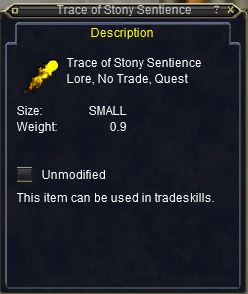
Trace of Stony Sentience: earth elementals
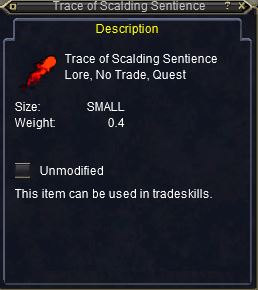
Trace of Scalding Sentience: fire elementals
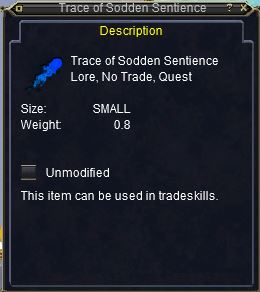
Trace of Sodden Sentience: water elementals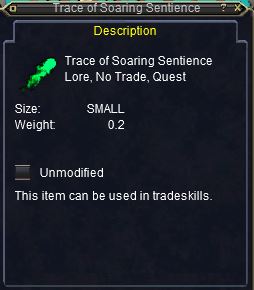
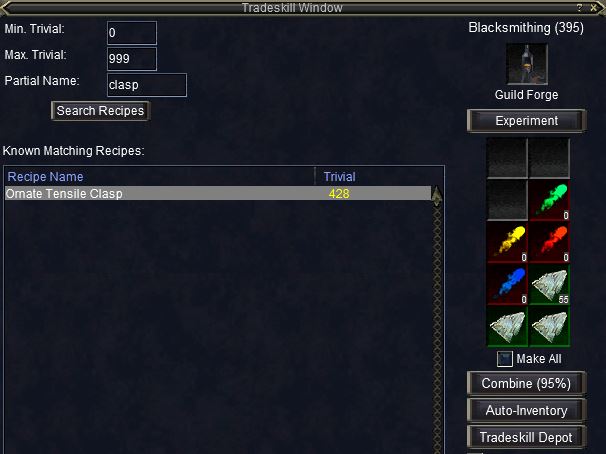
Traces in hand and elementals complete, its time to craft your Ornate Tensile Clasp. By now, hopefully you've acquired 3 Riven Arcana Ore in your travels, if not, ask your friends or you can acquire them from various creatures in Candlemaker's Workshop including clockworks and underbulks, in addition to solusek forces and less commonly, gnolls. Once you have your ores sorted, head to your favourite crafting area, and hit the forge.

EQUIP YOUR SMITHING TROPHY. Once more, you will already know the recipe, and you can find it searching for clasp. Good luck!
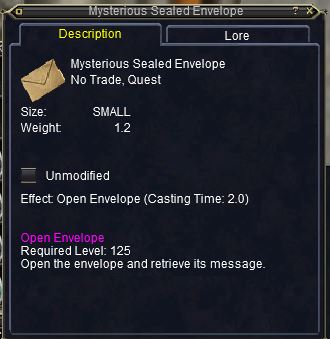
Upon success, you will receive Ornate Tensile Clasp, as well as a Mysterious Sealed Envelope. Right click and open the envelope, to receive a Creased Parchment Sheet. You can read this one also :)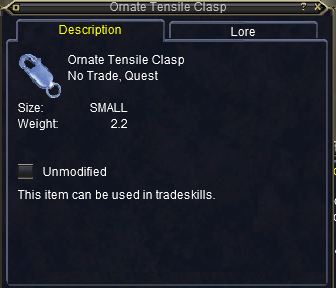

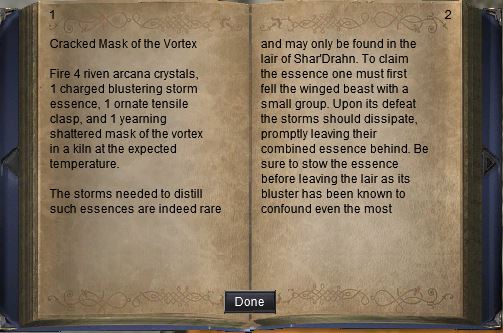
Now we are ready to head, once again, to a mission instance with some friends. This time, we need to do the Shar`Drahn group mission.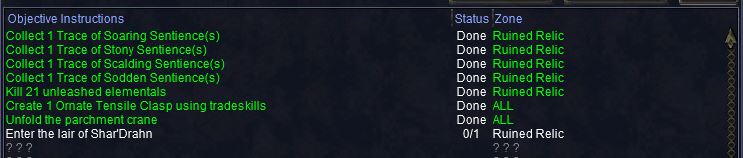
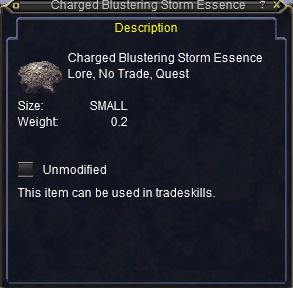
When you enter, this will update, and you'll be instructed to kill the dragon. When he does, you will receive Charged Blustering Storm Essence on your cursor. If it doesn't appear there, check your bags - for some reason, every once in awhile it goes there instead.
Now its time to do more crafting. In addition to your clasp, mask, and the essence you just got, you will need 4 additional crystals to complete the combine. Go back to your favourite crafting spot and head to the kiln.
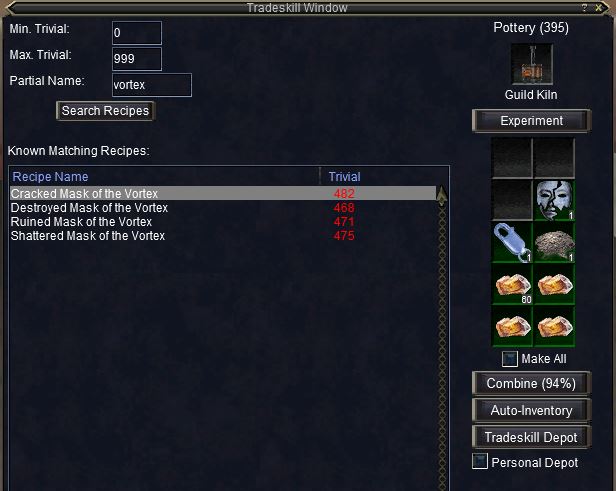
EQUIP YOUR POTTERY TROPHY. Once again, you will know this recipe also - search for vortex or cracked. Good luck!

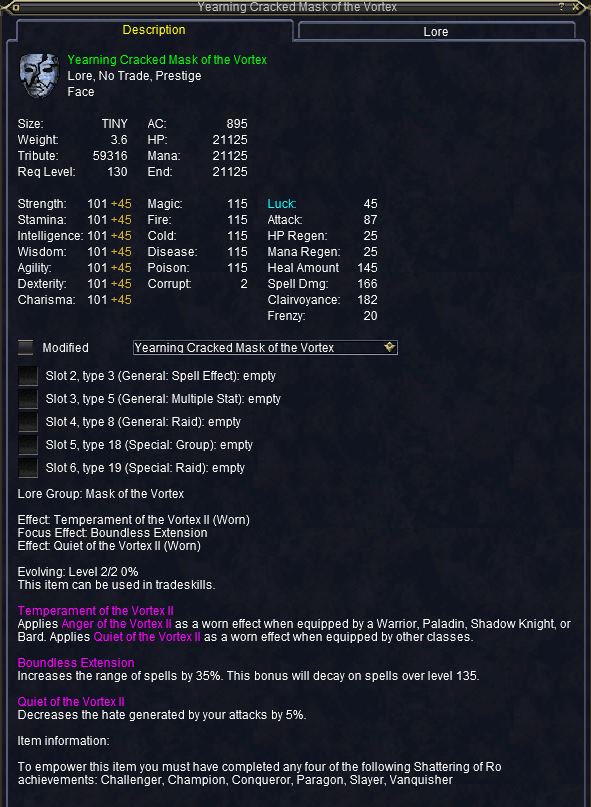
Gorgeous!! Another one done!! :)
Back to XP! Head off to get more progression done or get some xp anywhere you can! Missions are a great source at 2% xp on your mask per completed mission. At your leisure, stop by and see Senior Apprentice again to finish off the previous task (but you can xp it before then if you like). See you back again when you are done filling up your xp for the mask, and it has evolved to the Yearning Form as shown below! If you have filled it with XP but it didn't evolve, you need to have one achievement - I recommend going for Champion or Hunter of Shattering of Ro next, depending on your situation.
Woohoo!!
Stage 5: Glimpse of the Vortex and Mask 5
Slap your new mask on, and let's go see our old friend, Senior Apprentice Mage Sarcrynn, once again, and he will give you the quest "Glimpse of the Vortex".
Keep in mind by the end of this stage, you will need a fifth achievement from this list, so as you have opportunities to prepare for that, make good use of them!
- Champion of Shattering of Ro
- Stormslayer
- Paragon of Shattering of Ro
- Challenger of Shattering of Ro
- Conqueror of Shattering of Ro
- Vanquisher of Shattering of Ro

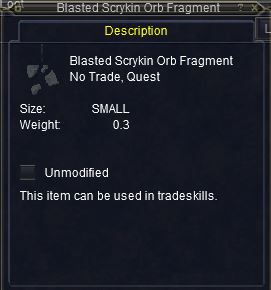
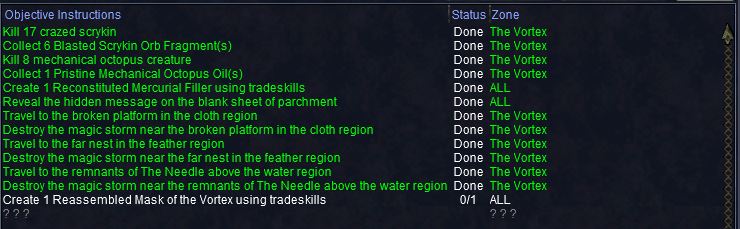
When you first acquire the task, if you've previously obtained your blasted scrykin fragments and octopus oil, they will auto-update as shown above. If they don't for some reason, try the old hand and cancel trick once again.
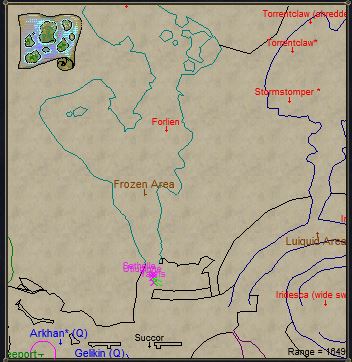
Then, we are off to kill some scrykins. I did this at the entrance of the frozen area - which is a nice thing to do as it will help some of your community folks by resetting some of the scrykins for vortex partisan purposes. If you don't already have your fragments, stay here until you do.
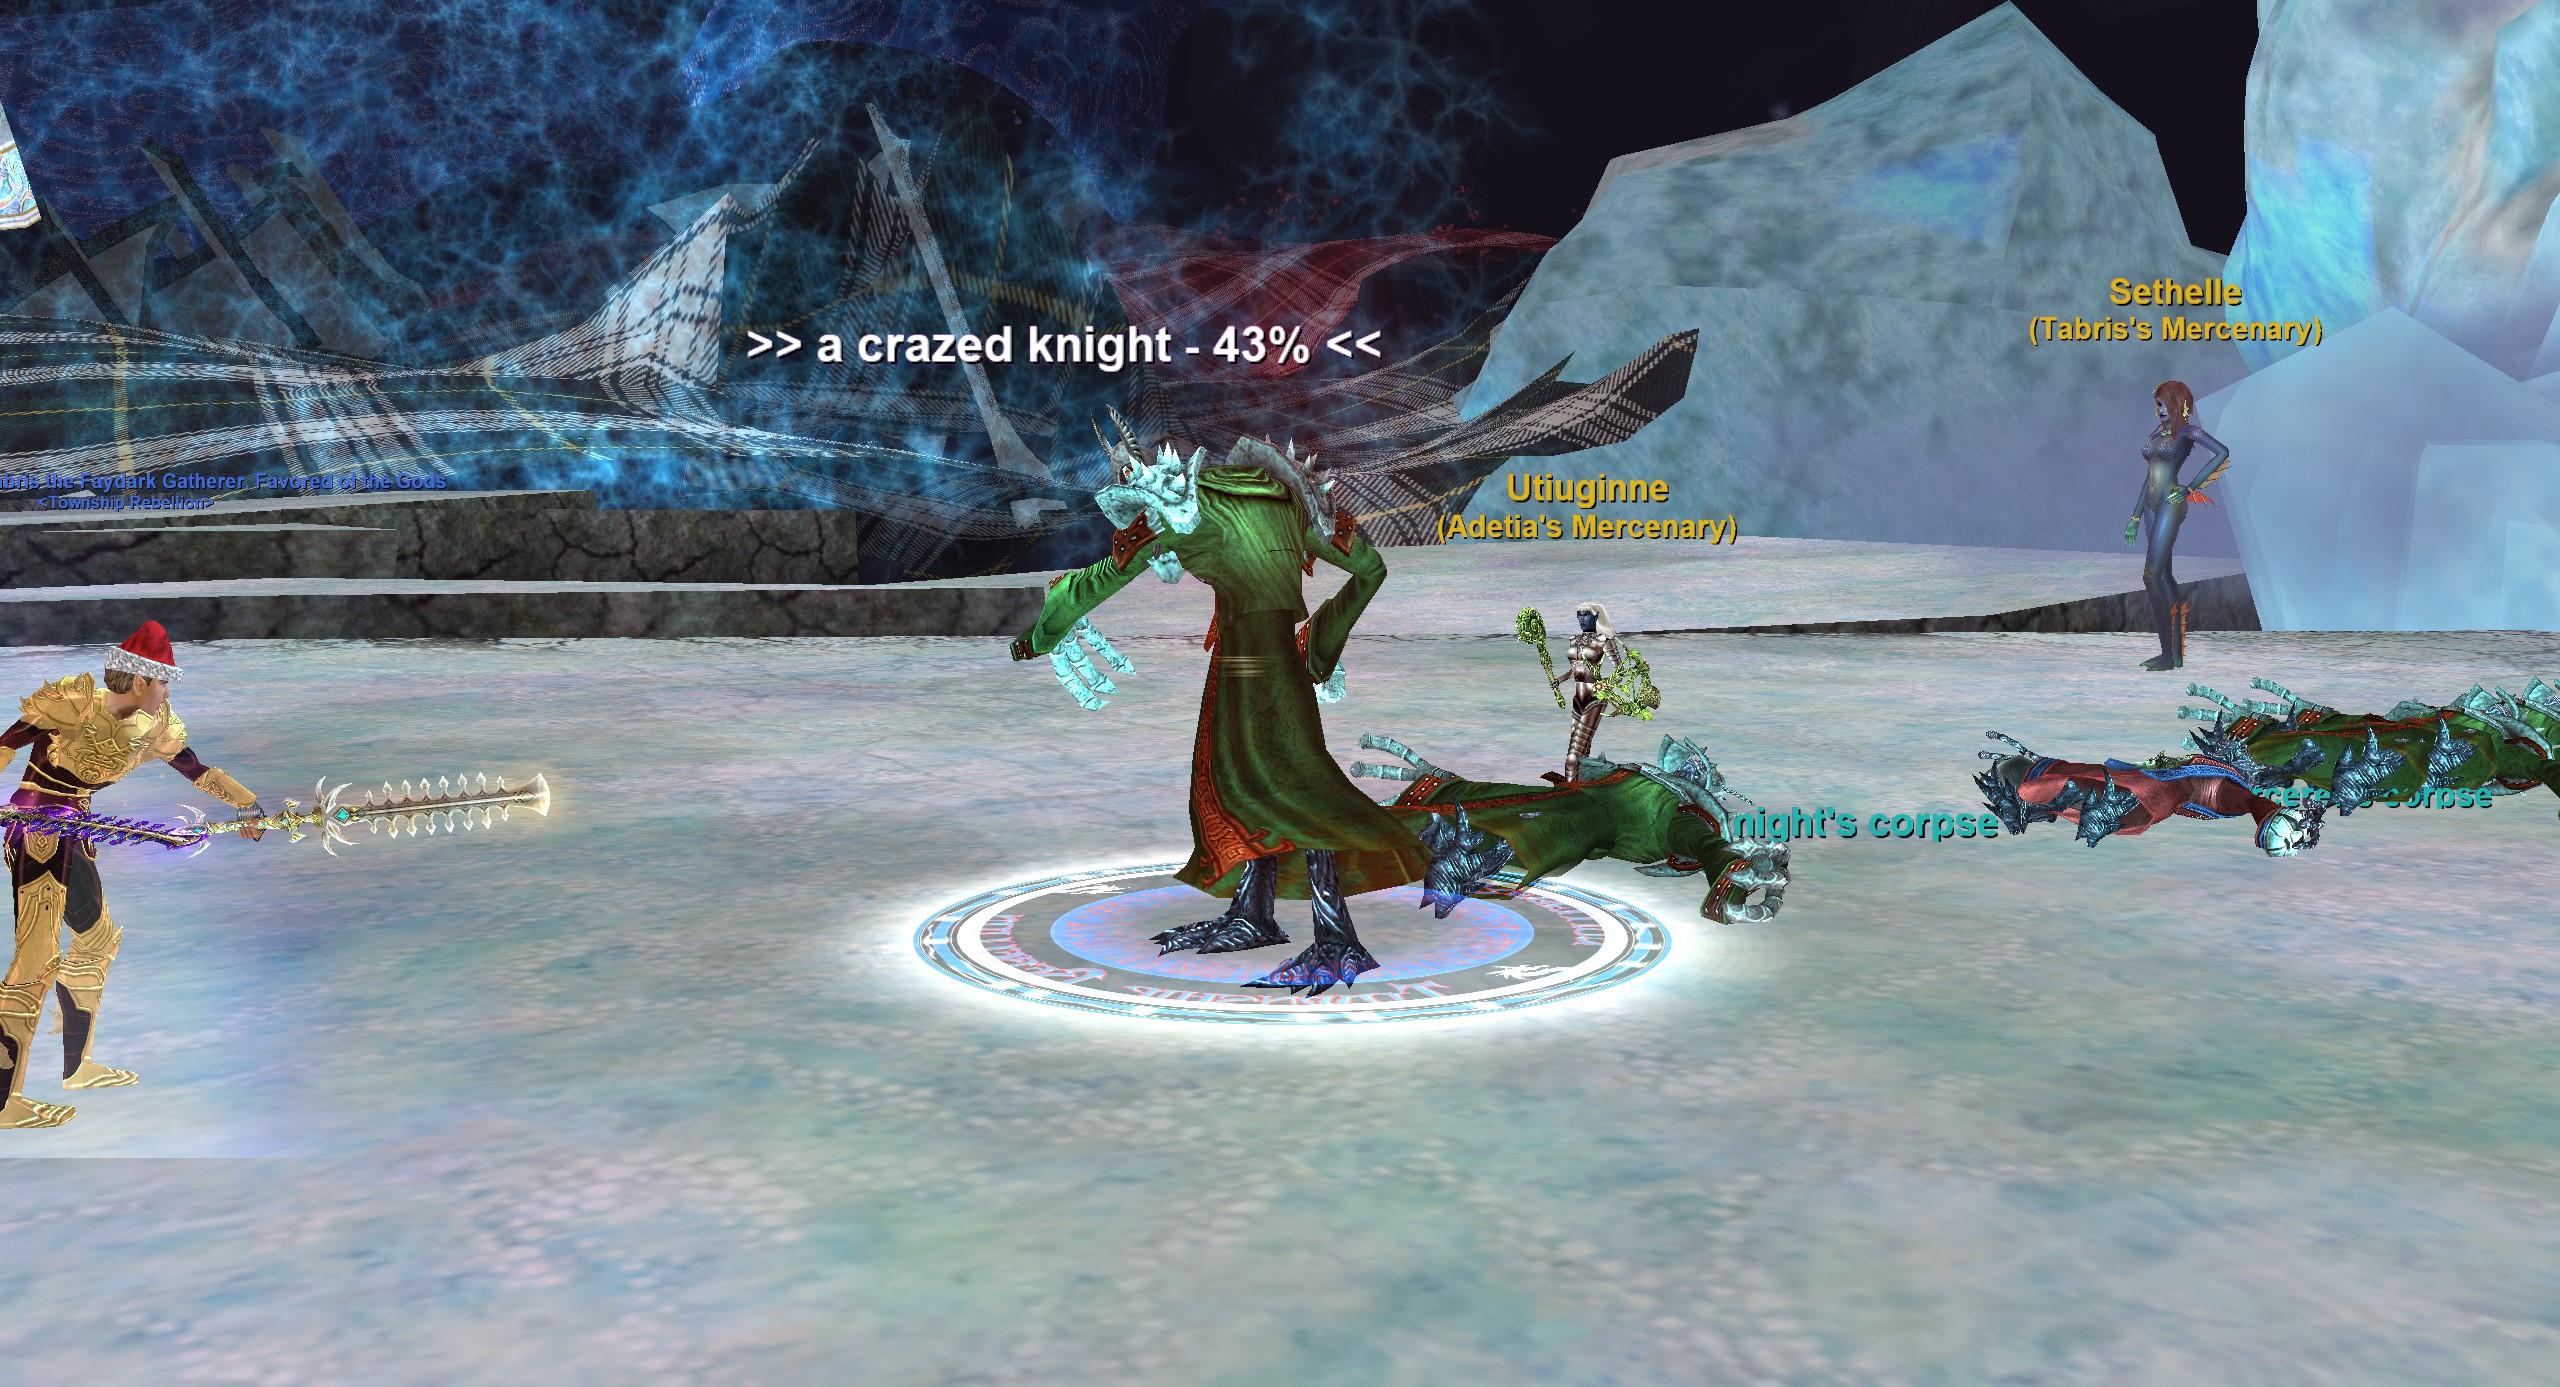
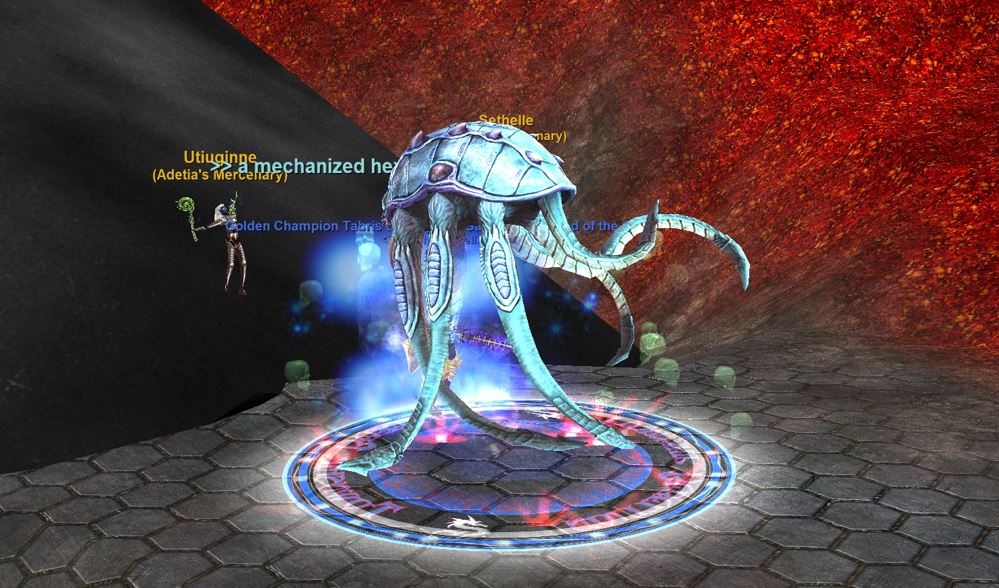
Next, we head across Vortex to the geiger area and kill mechanical octopus creatures. If you don't already have your pristine oil, make sure to stay here until you do.
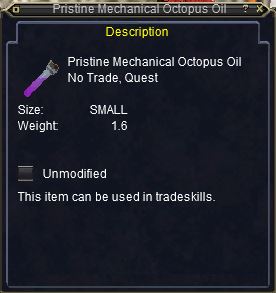

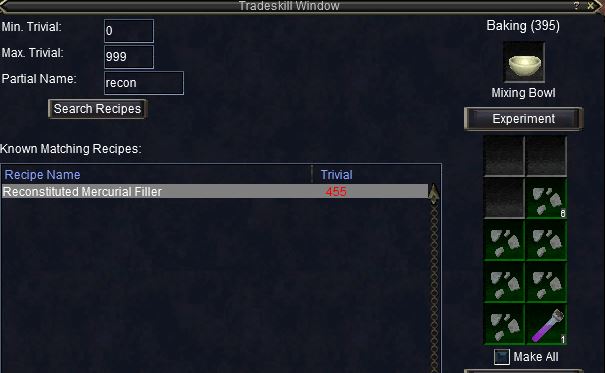
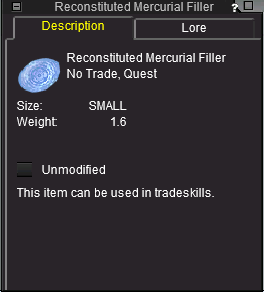
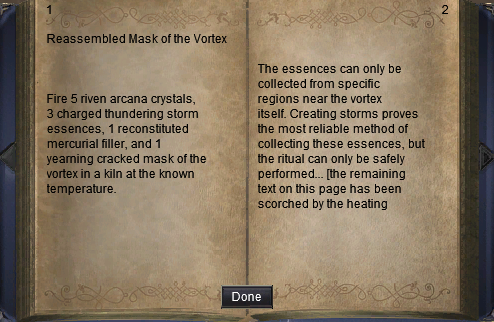
Now, its time to use your trusty mixing bowl and make the Reconstituted Mercurial Filler. EQUIP YOUR BAKING TROPHY! Then we search for recon.
Presto! We receive the filter itself, and a paper.
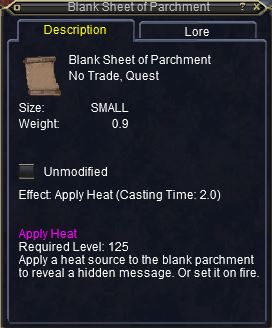

Click the message to reveal the hidden message.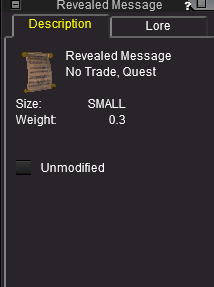
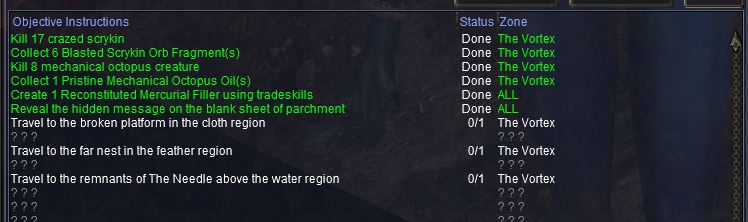
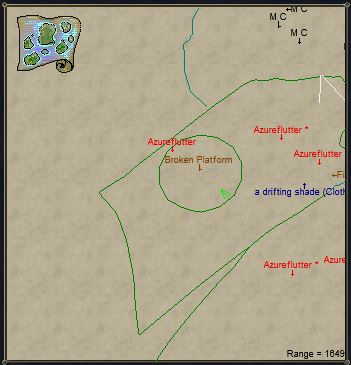
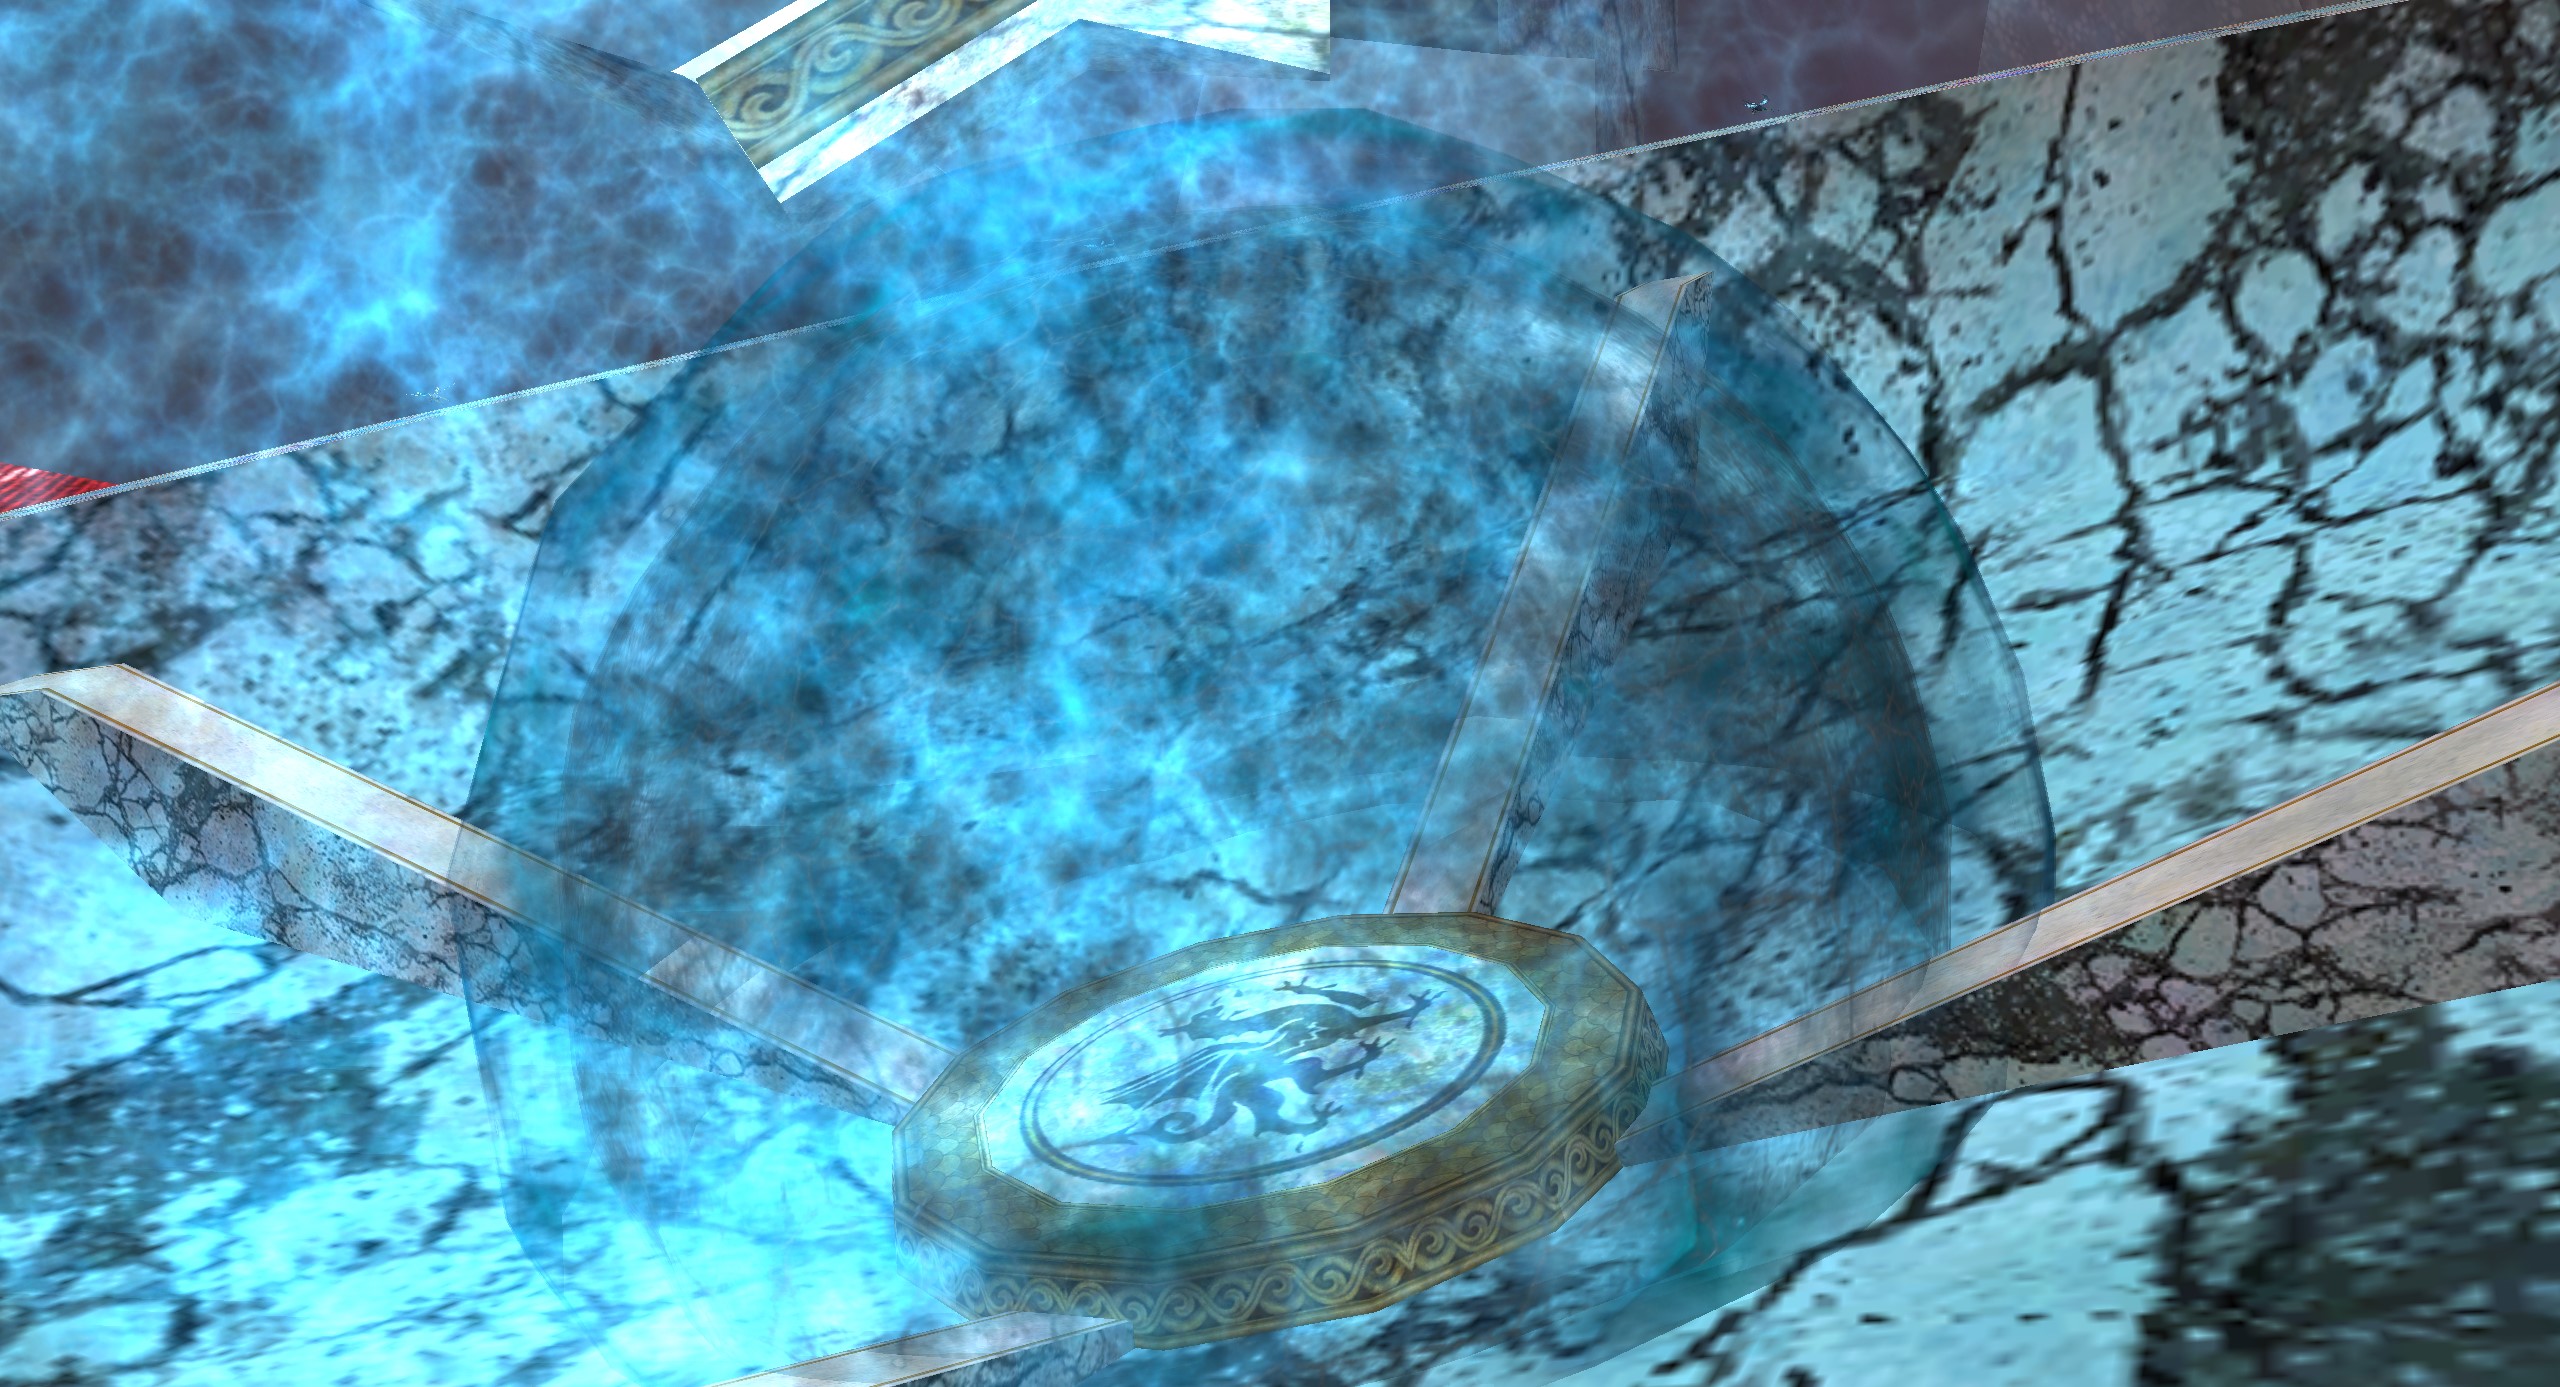
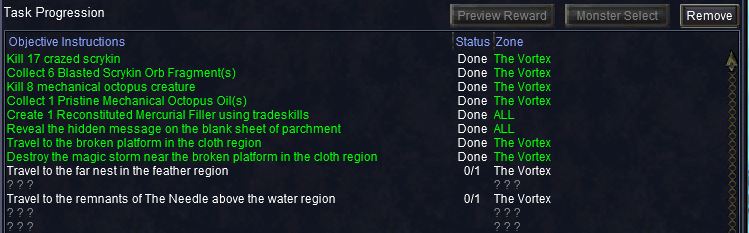
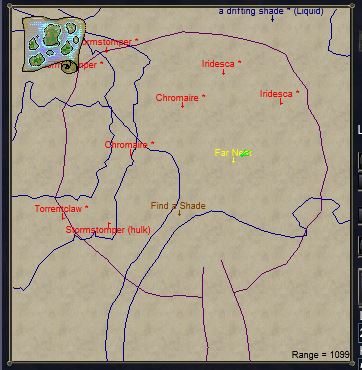
Now, we have to do a series of updates. Each one requires a location update, and then for you to stand in a specific magic storm and wait for the debuff "Temporal Disturbance" to cycle through From i, ii, and when it hits "Temporal Disturbance iii", you destroy the storm. It will give you a powder on your cursor and an update. Note: This has a 40 minute reuse time on the AA, so be sure you are in the right place, and that you have the right debuff. To begin, we go to the broken platform seen in the west of the image below.
On the broken platform will be a storm - note, when I got there, there was a second one overlapping it, but this is the one you want, pictured below. Again - stand in it, (be warned these will all break invis, so plan your spot) - and wait for Temporal Distrubance III, THEN click your Destroy Magic AA ability hotkey. You will get some yellow text and the powder.

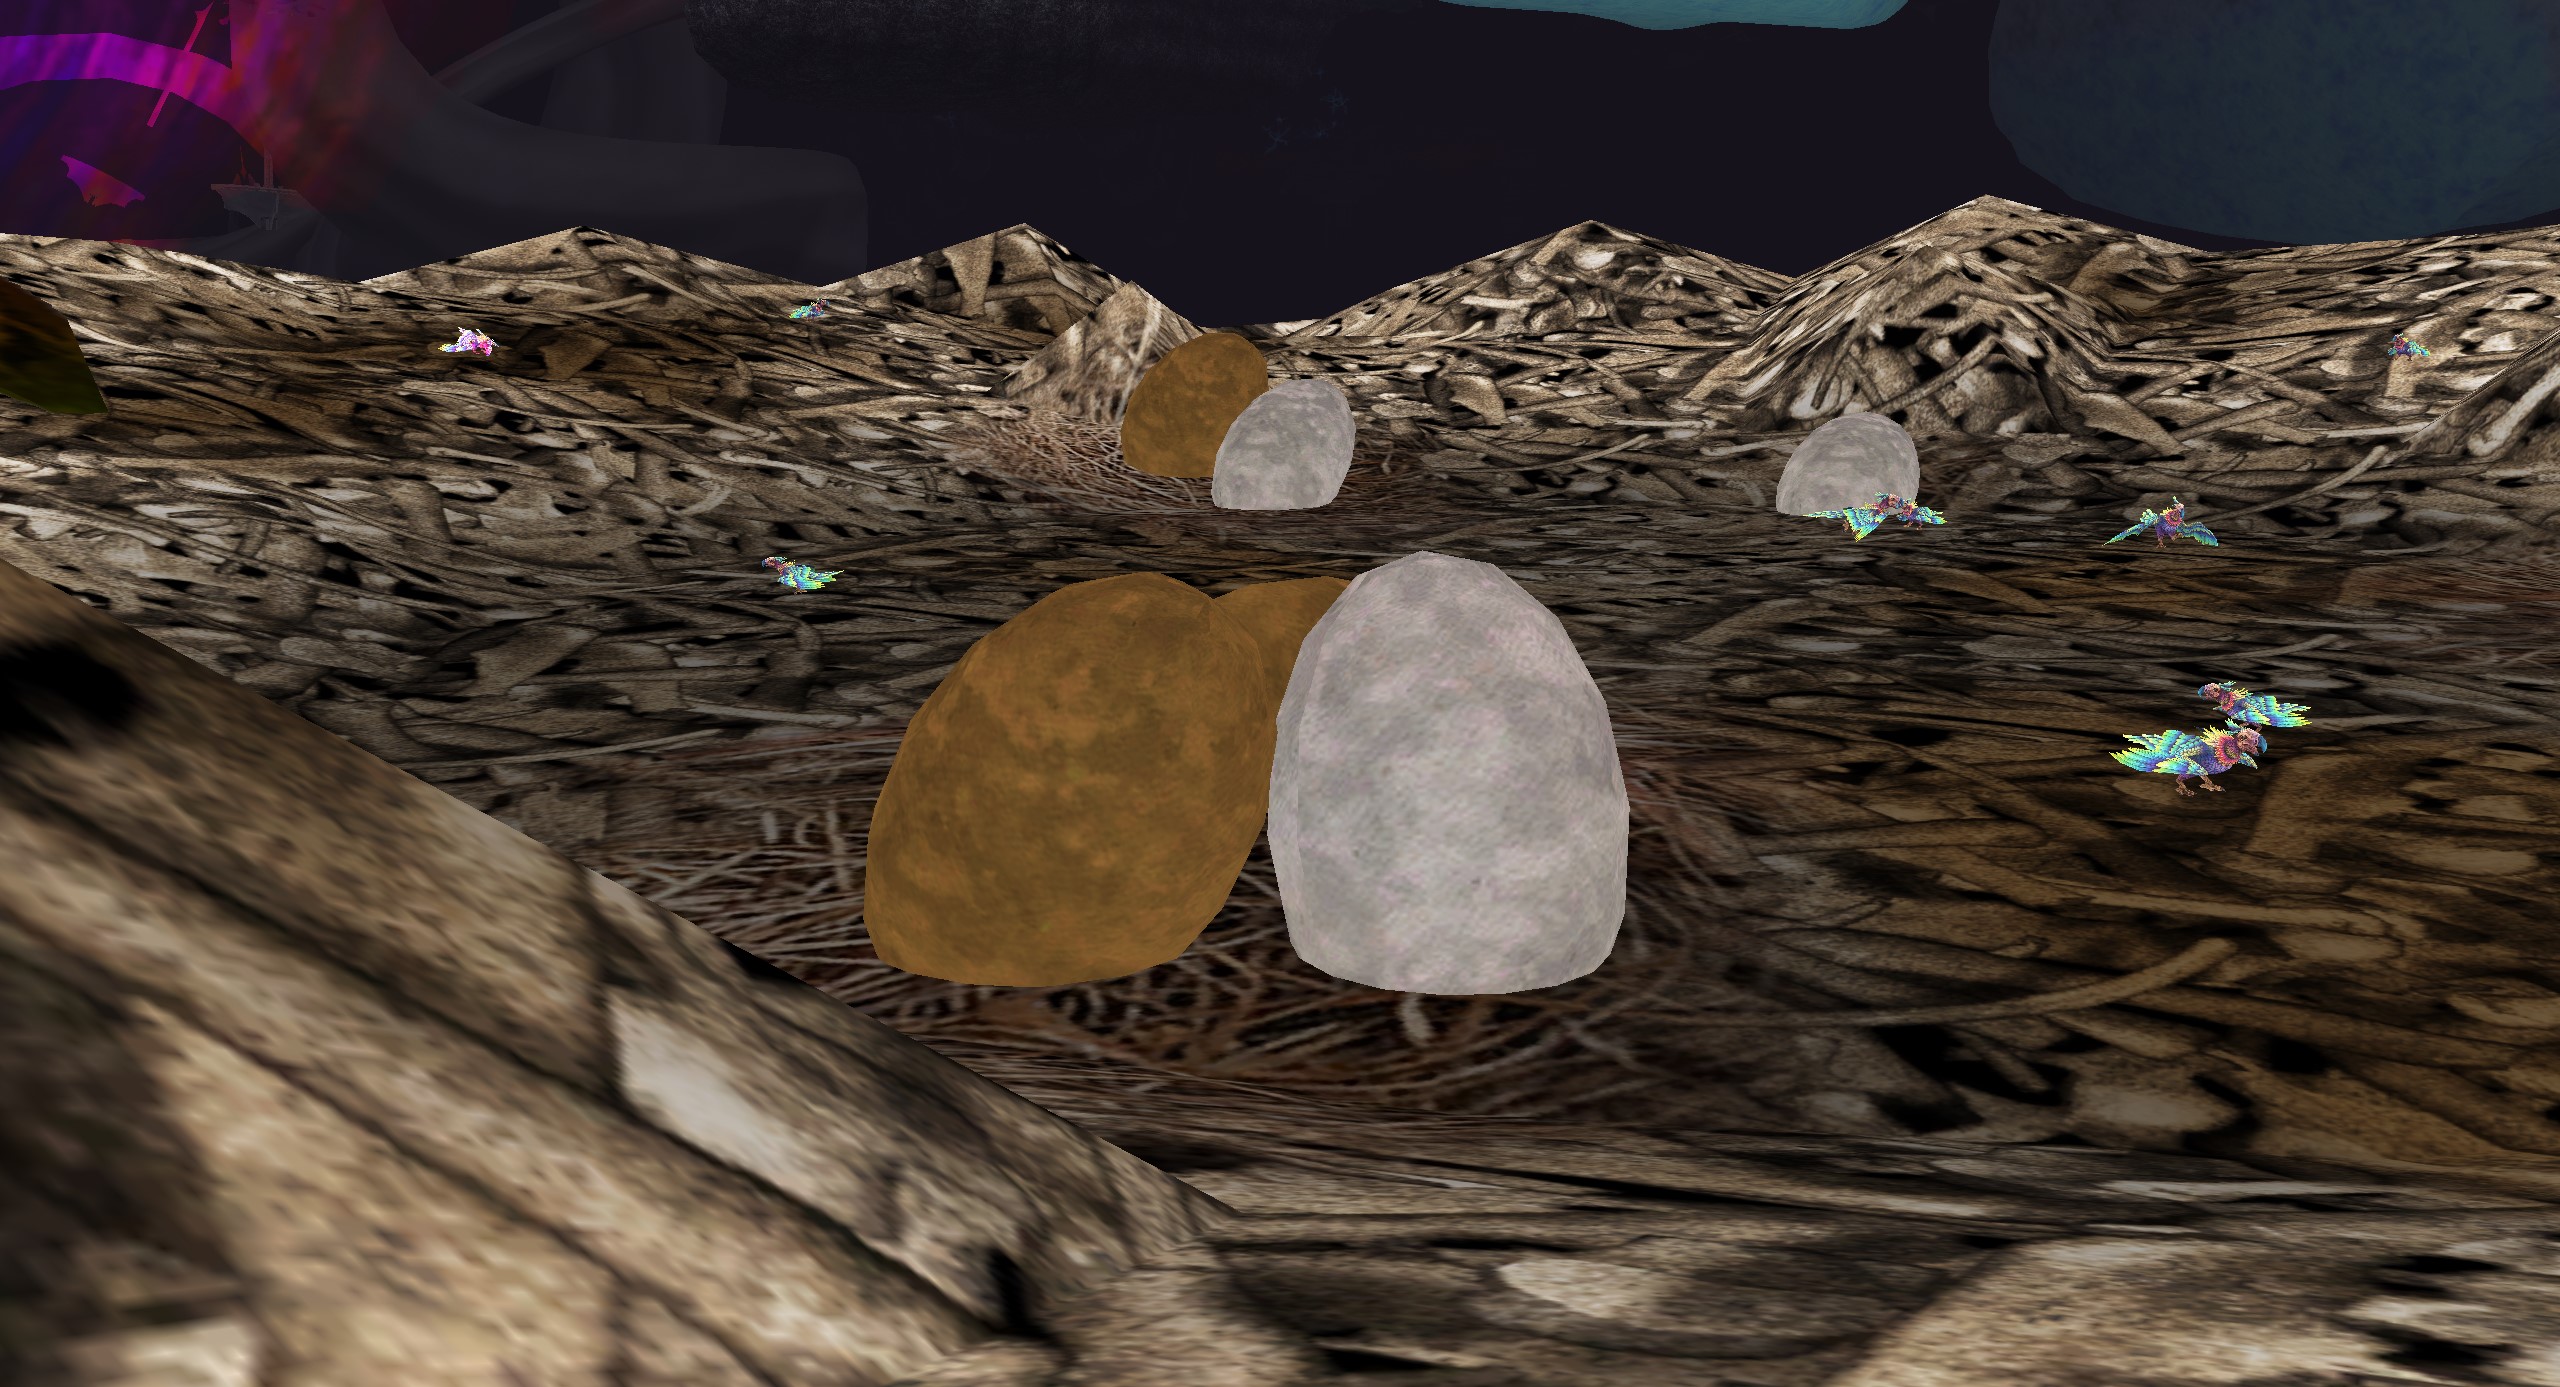
Onward to the FAR nest located deep in the feather area. Pass the first nest until you get to the second. Again, this will break your invis so plan carefully. Stand in the storm, wait for Temporal Disturbance III, and click your Destroy Magic hotkey to receive your powder, yellow text, and 40 minute delay.
We are off to the Needle. To get there, ascend through the jellyfish area to the large jellyfish elevator. Hop onto the head of the extremely large jellyfish and click on the "baby" jellyfish to activate the elevator. Once you arrive at the top, head over to the Needle, and its the same thing. Stand in the storm, wait for Temporal Disturbance III and click your Destroy Magic for your third and final powder.

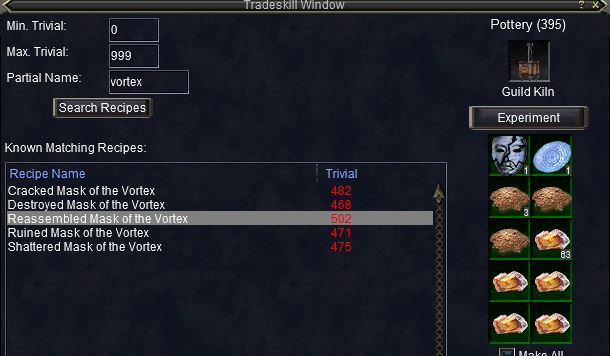
Now it is time to head back to the kiln - or use a portable one - and do one more combine. EQUIP YOUR POTTERY TROPHY. Search for vortex and choose the proper one. Good luck!

Alright!!
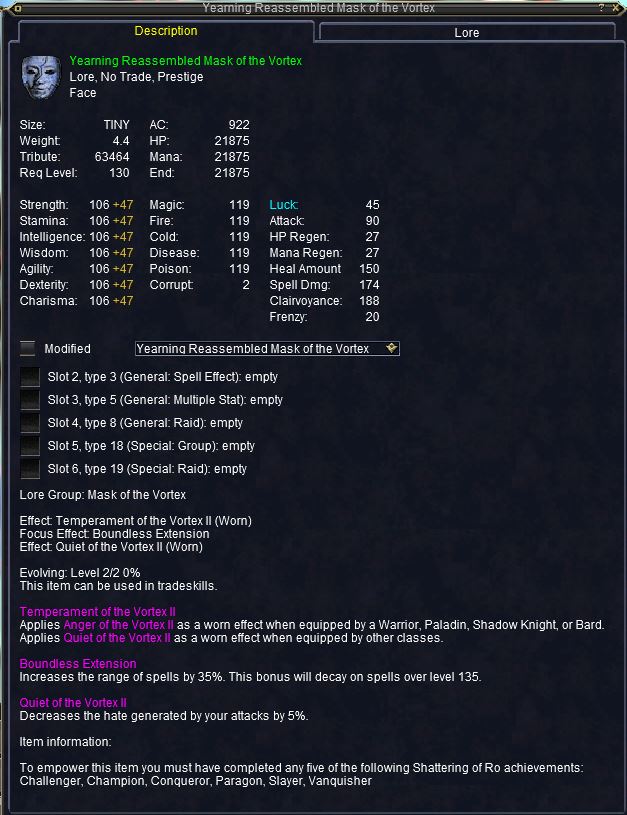
Back to XP! Head off to get more progression done or get some xp anywhere you can! Missions are a great source at 2% xp on your mask per completed mission. At your leisure, stop by and see Senior Apprentice again to finish off the previous task (but you can xp it before then if you like). See you back again when you are done filling up your xp for the mask, and it has evolved to the Yearning Form as shown below!
Things start amping up a bit from here - as this time you will need one of the raiding required achievements (not available until March 2026), to proceed. See you then!
MORE DETAILS AND BETTER FORMATTING SOON - Refresh and there may be something new here!
Feel free to contact me at luclin.adetia with questions or information
You are not authorised to post comments.